
Remember When Mini Album
1 year ago


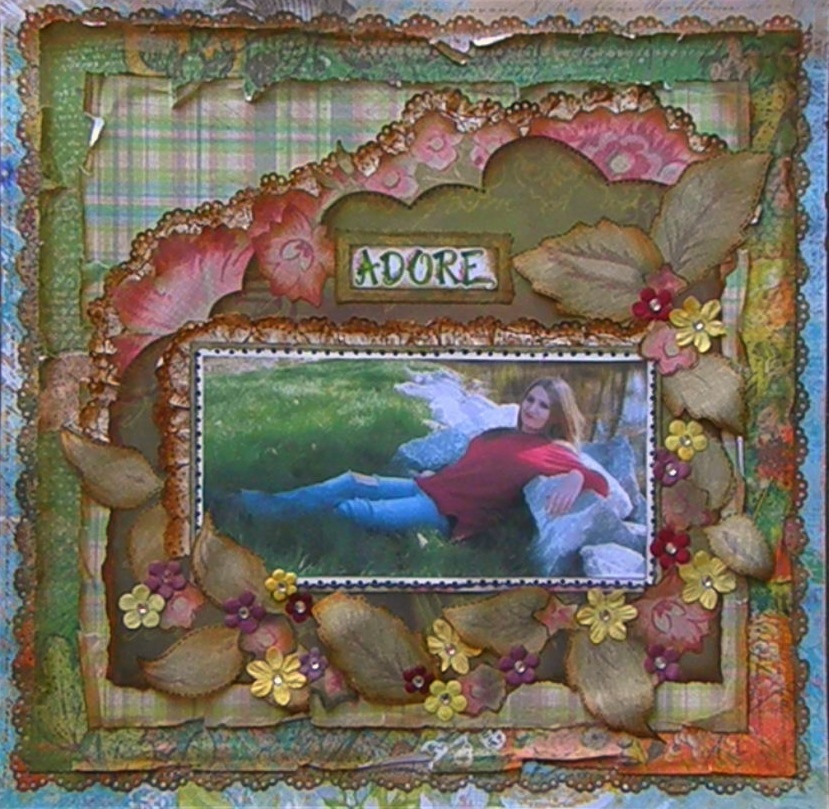
Today I will show you how to make a Lace Edge Paper Flower as seen on this layout below. Making your own paper flowers is an inexpensive alternative to purchasing them at craft stores. I think they also offer a little more versatility too as far as colors and styles. Try making some today and let me know how they turn out!
These are the supplies you will need to make a Lace Edge Paper Flower...


Today I will show you how to make a Pointed Edge Border. In this tutorial , I used it to cut through the center of the layout, but it can also be used right on the edge, in a straight line rather than a curve or almost any way you choose. I like the look of this edge,..it has a lot of dimension.
Start with your background paper. I used a 12x12 piece of cardstock, but any size can be used depending on how you need to use it in your layout
Draw a curved line on your sheet of 12x12 (or any size) paper. The curve can be any style you choose,..be creative!
Cut along the line you drew
Now you are ready to fold your 1x1 squares into points
Fold down the corners of your 1x1 squares as shown in the picture below...
Add a line of hot glue to the front side of the point making sure not to cover the point
Expect a little bit of overhang on the points. These can be easily trimmed away once you are finished gluing on all the points. Check often for symmetry as you are gluing each piece.